おはよう。@bioerrorlogです。
ProcessingによるGenerative Art作品
6作目を記録します。
自作品まとめはこちら: www.bioerrorlog.work
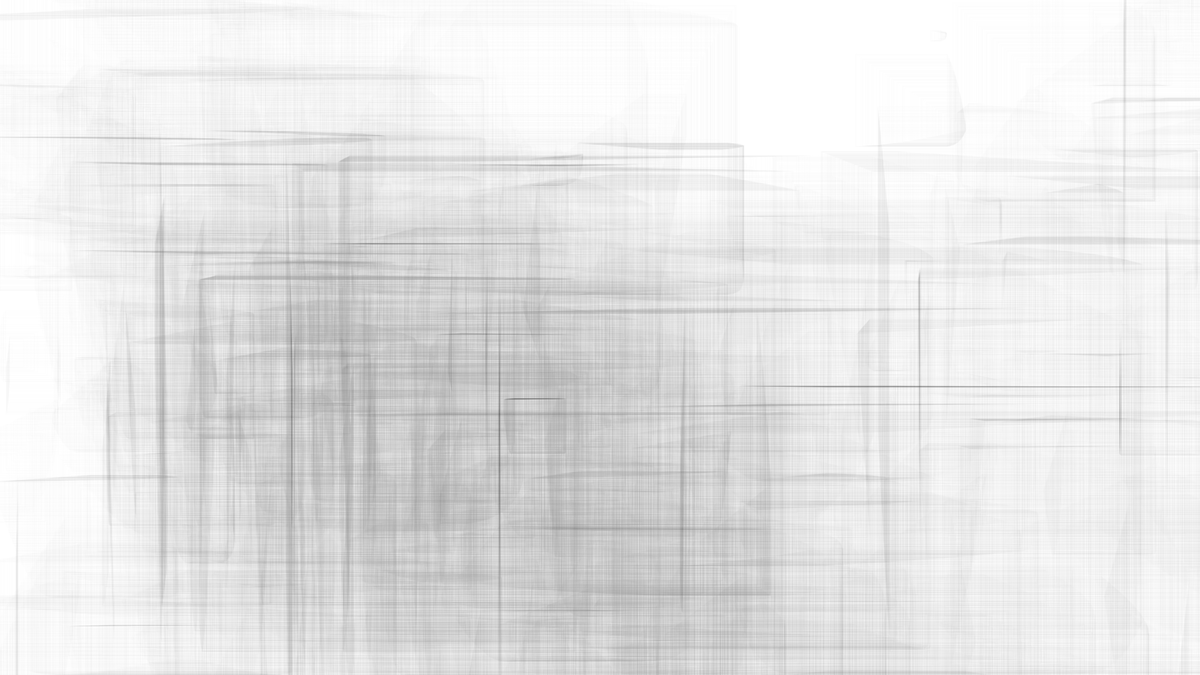
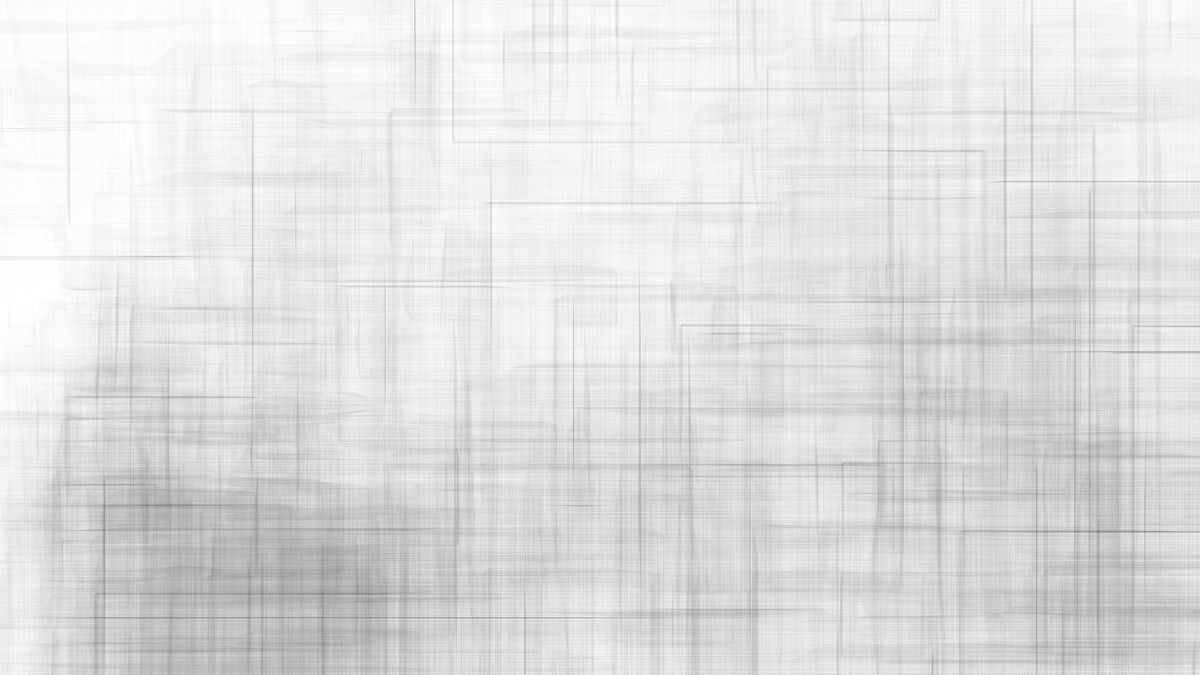
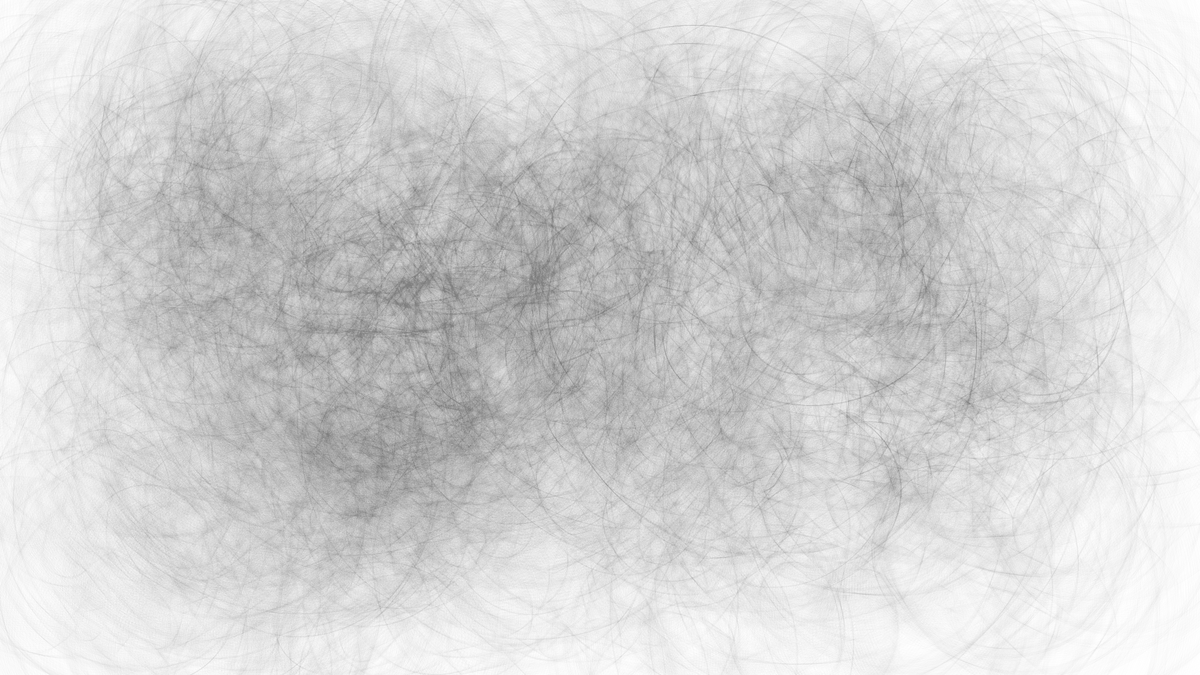
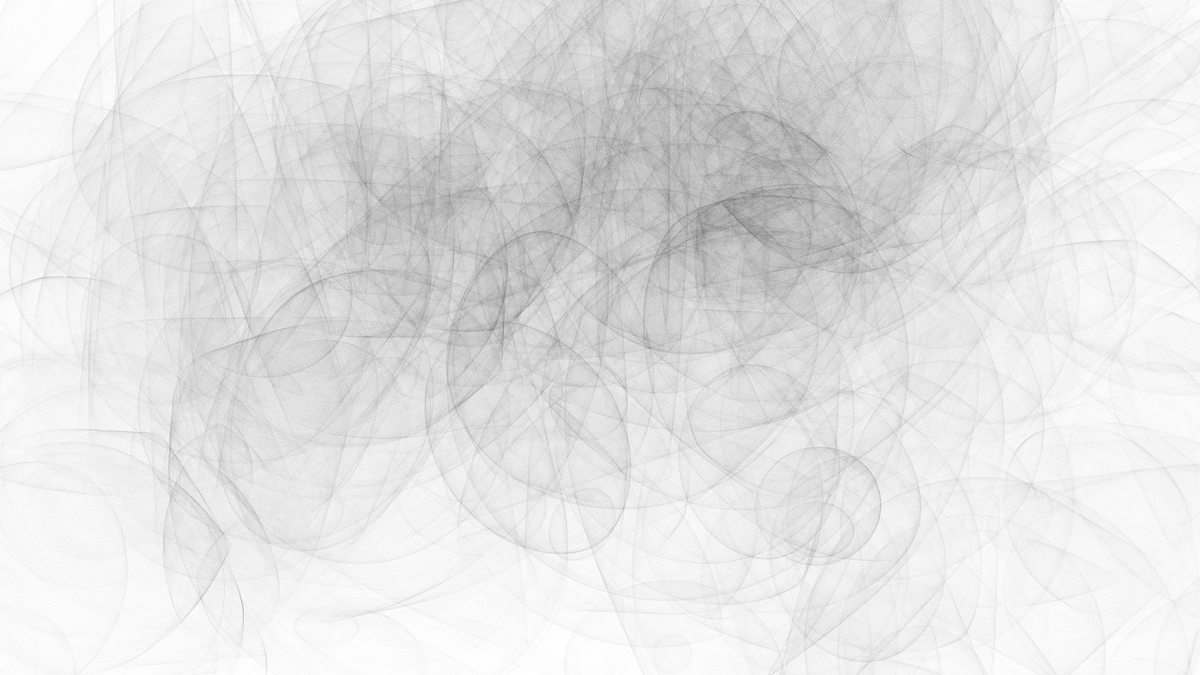
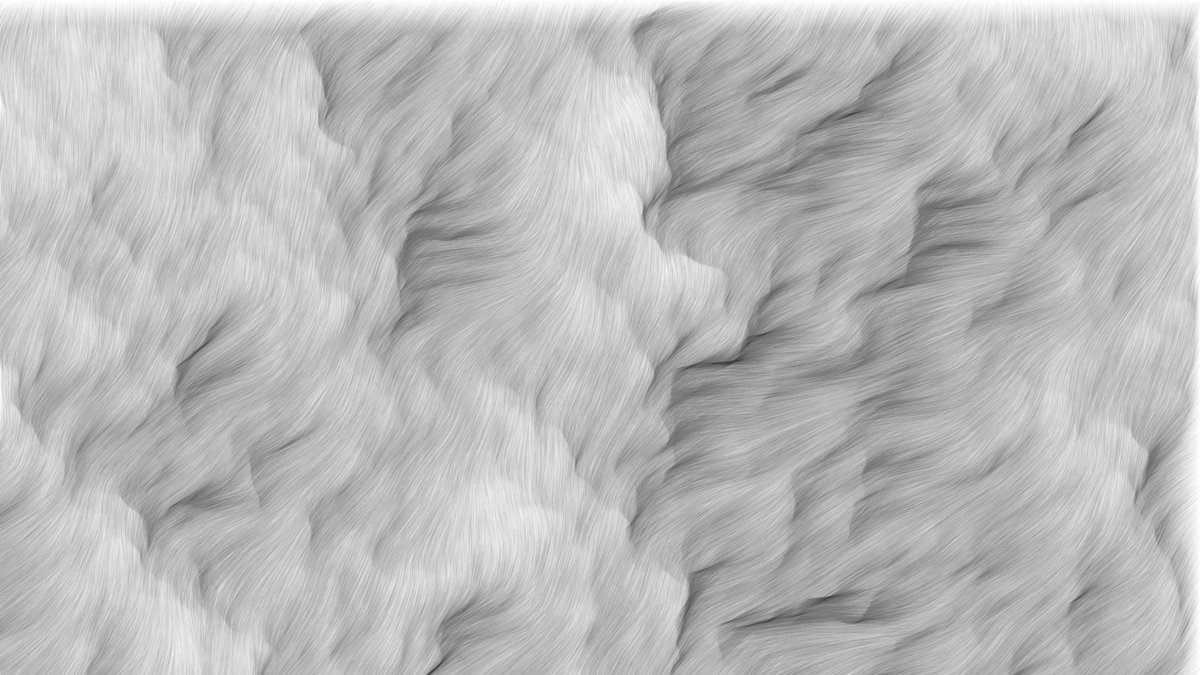
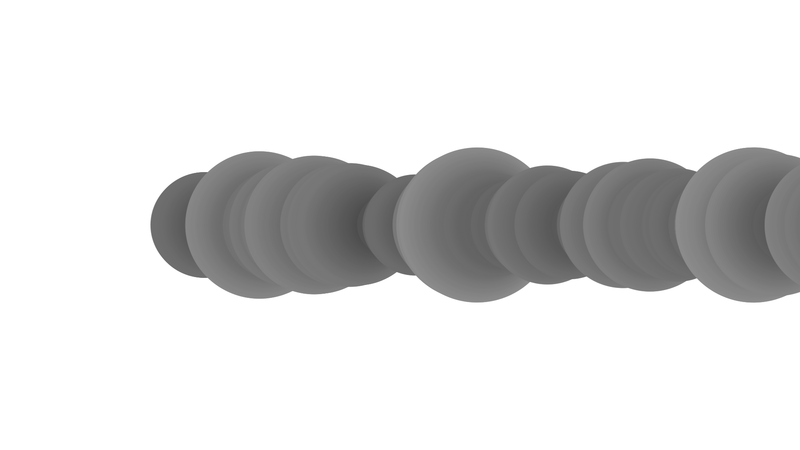
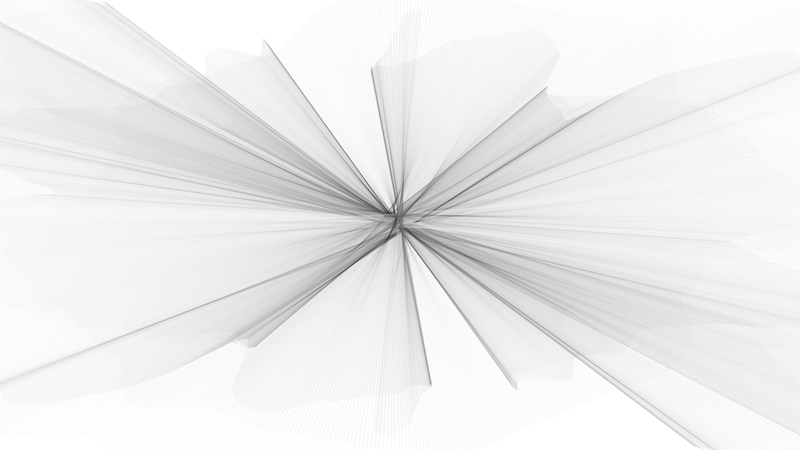
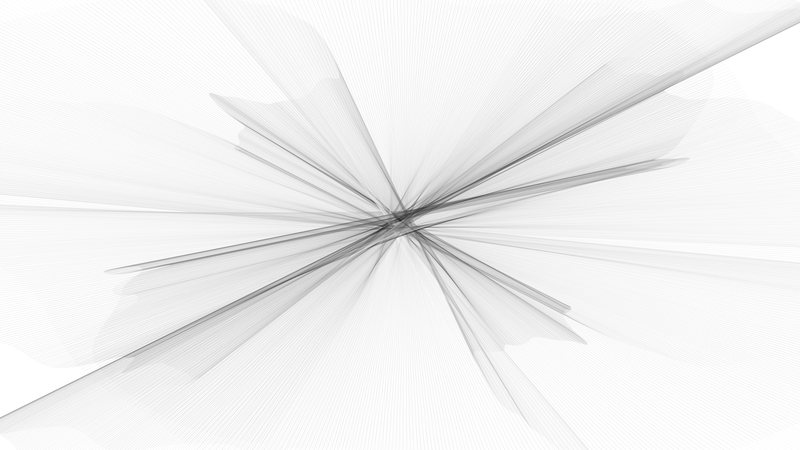
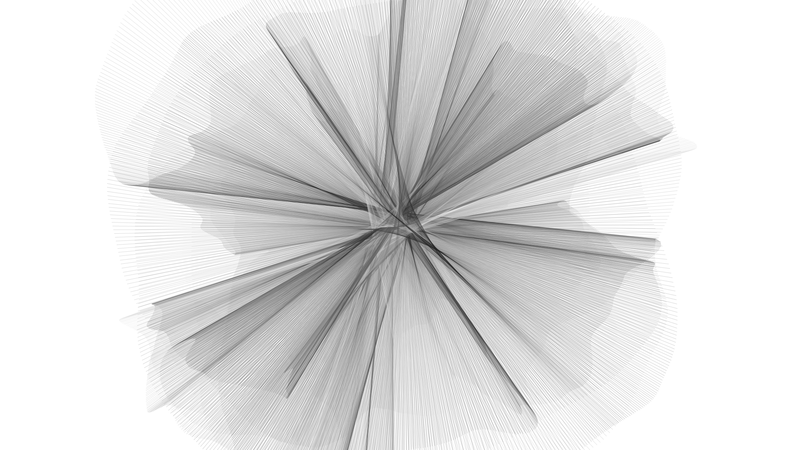
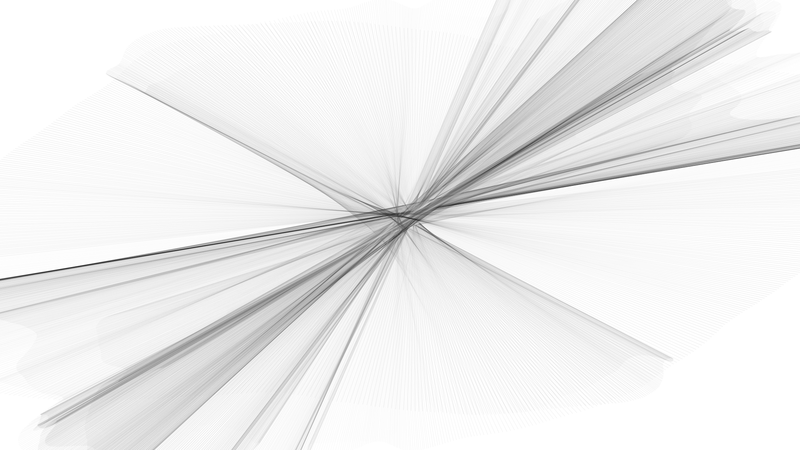
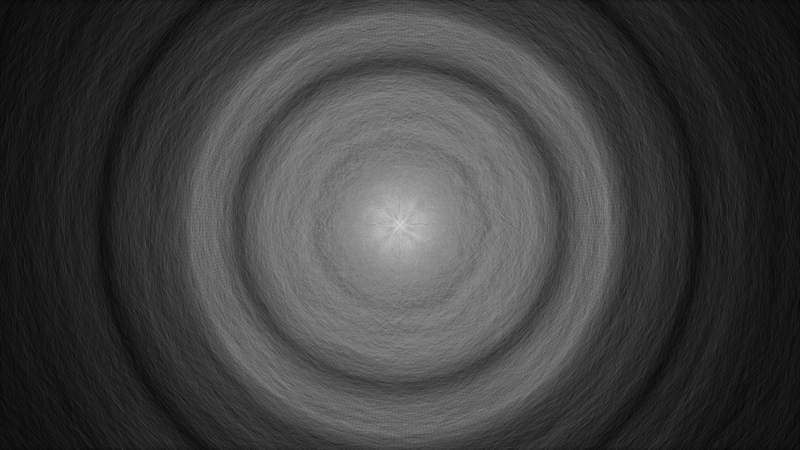
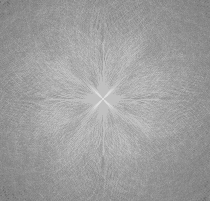
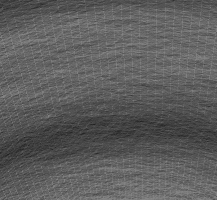
Output
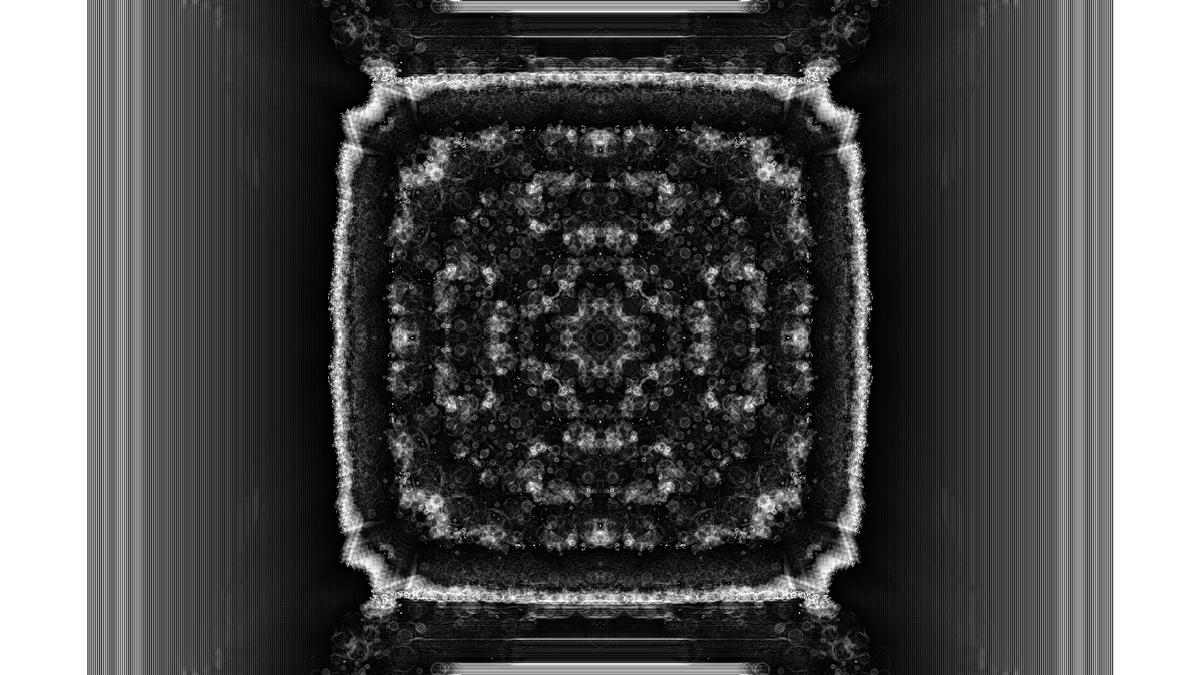
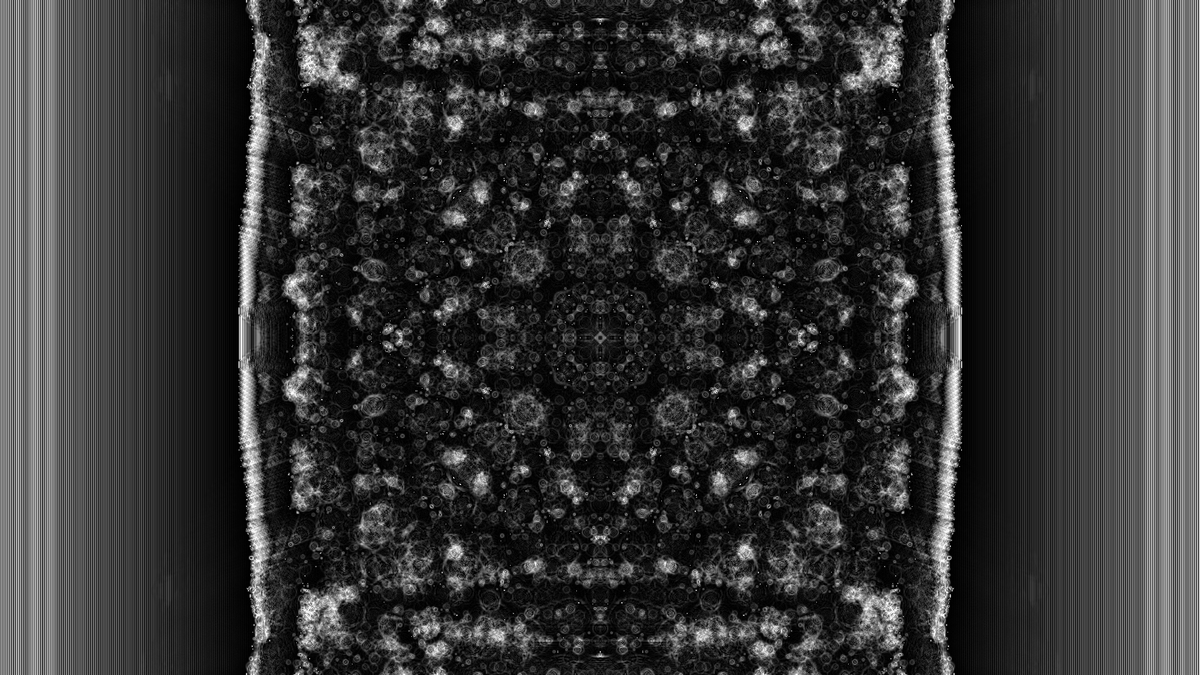
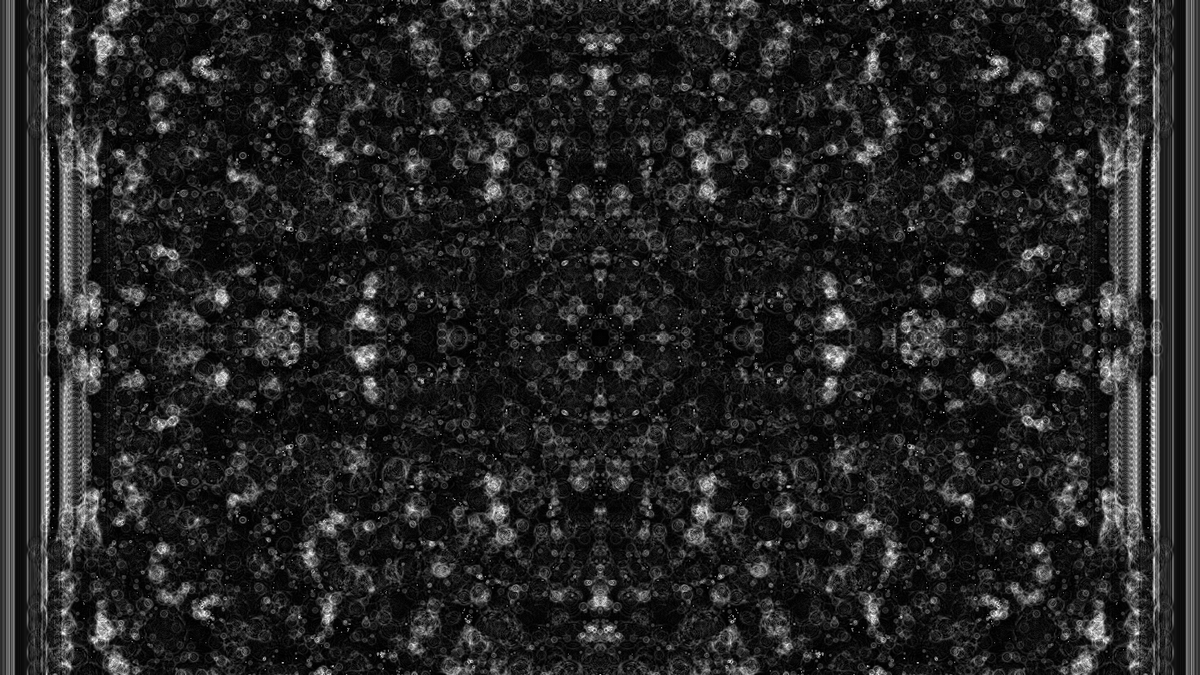

フル解像度/その他出力パターンはこちら:
Generative_6 - BioErrorLog - pixiv
Material
使用言語: Processing 3.5.3
Processingというプログラミング言語に聞き覚えがない、という方は是非こちらをご参考ください:
www.bioerrorlog.work
Source Code
GitHubはこちら
Cell[][] _cellArray;
int _cellSize = 1; // Cellの大きさ(pixel)
int _numX, _numY; // ディスプレイのCell格子


void setup() {
  size(1920, 1080);
  _numX = floor(width/_cellSize);
  _numY = floor(height/_cellSize);
  restart();
}


void restart() {
  // _cellArrayに画面分のCellを入れる
  _cellArray = new Cell[_numX][_numY];
  for (int x = 0; x<_numX; x++) {
    for (int y = 0; y<_numY; y++) {
      Cell newCell = new Cell(x, y);
      _cellArray[x][y] = newCell;
    }
  }


  for (int x = 0; x < _numX; x++) {
    for (int y = 0; y < _numY; y++) {

      int above = y-1;
      int below = y+1;
      int left = x-1;
      int right = x+1;

      // 画面端の処理
      if (above < 0) { above = _numY-1; }
      if (below == _numY) { below = 0; }
      if (left < 0) { left = _numX-1; }
      if (right == _numX) { right = 0; }

     _cellArray[x][y].addNeighbour(_cellArray[left][above]);
     _cellArray[x][y].addNeighbour(_cellArray[left][y]);
     _cellArray[x][y].addNeighbour(_cellArray[left][below]);
     _cellArray[x][y].addNeighbour(_cellArray[x][below]);
     _cellArray[x][y].addNeighbour(_cellArray[right][below]);
     _cellArray[x][y].addNeighbour(_cellArray[right][y]);
     _cellArray[x][y].addNeighbour(_cellArray[right][above]);
     _cellArray[x][y].addNeighbour(_cellArray[x][above]);
    }
  }
}


void draw() {
  background(200);

  for (int x = 0; x < _numX; x++) {
    for (int y = 0; y < _numY; y++) {
     _cellArray[x][y].calcNextState();
    }
  }

  translate(_cellSize/2, _cellSize/2);

  for (int x = 0; x < _numX; x++) {
    for (int y = 0; y < _numY; y++) {
     _cellArray[x][y].drawMe();
    }
  }
}


void keyPressed(){
    /*
    ENTERキー押下: 画像を保存する
    BACKSPACEキー押下: setup()を呼ぶ
    */

    if (keyCode == ENTER){
        saveFrame("generative_5_####.png");
    }
    if (keyCode == BACKSPACE){
        setup();
    }
}


class Cell {
  float x, y;
  float state;
  float nextState;
  float lastState = 0;
  Cell[] neighbours;

  Cell(float ex, float why) {
    x = ex * _cellSize;
    y = why * _cellSize;

    // Cellの初期状態を定義
    // 画面の真ん中のCellは255, それ以外は2
    if(ex == width/2 && why == height/2){
      nextState = 255;
    }else{
      nextState = 2;
    }

    state = nextState;
    neighbours = new Cell[0];
  }

  void addNeighbour(Cell cell) {
    neighbours = (Cell[])append(neighbours, cell);
  }

  void calcNextState() {
    /*
    1. もし隣接するセルの状態の平均が255であれば状態は0に
    2. もし隣接するセルの状態の平均が0であるなら状態は255に
    3. そうでなければ、新しい状態=現在の状態+隣接セルの状態の平均ー前の状態の値
    4. もし新しい状態が255を超えたら255にし、
    5. もし新しい状態が0以下ならそれを0にする
    */

    float total = 0;
    for (int i=0; i < neighbours.length; i++) {
       total += neighbours[i].state;
    }
    float average = int(total/8);

    if (average == 255) { // 1.
      nextState = 0;
    } else if (average == 0) {
      nextState = 255; // 2.
    } else {
      nextState = state + average;
      if (lastState > 0) { nextState -= lastState; } // 3.
      if (nextState > 255) { nextState = 255; } // 4.
      else if (nextState < 0) { nextState = 0; } // 5.
    }

    lastState = state;
  }

  void drawMe() {
    state = nextState;
    noStroke();
    fill(state);
    rect(x, y, _cellSize, _cellSize);
  }
}
Discussion
マット・ピアソン「ジェネラティブ・アート―Processingによる実践ガイド」7章で紹介される、セルオートマトンのケーススタディを改変して作成。
画面中央のピクセルから徐々にセルオートマトンを波及させていきます。
今回のセルオートマトンの規則は次の通り(「ジェネラティブ・アート―Processingによる実践ガイド」より引用)。
- もし隣接するセルの状態の平均が255であれば状態は0に
- もし隣接するセルの状態の平均が0であるなら状態は255に
- そうでなければ、新しい状態=現在の状態+隣接セルの状態の平均ー前の状態の値
- もし新しい状態が255を超えたら255にし、もし新しい状態が0以下ならそれを0にする
脳の染色画像のような、あるいは悪い夢を見ているときのような、不思議で不気味なパターンが面白いところです。
See also
Reference
![[普及版]ジェネラティブ・アート―Processingによる実践ガイド](https://m.media-amazon.com/images/I/41Eq81vSVPL.jpg "[普及版]ジェネラティブ・アート―Processingによる実践ガイド")
[普及版]ジェネラティブ・アート―Processingによる実践ガイド
- 作者:マット・ピアソン,Matt Pearson
- 発売日: 2014/11/21
- メディア: 単行本(ソフトカバー)